
Views: 0 Author: Site Editor Publish Time: 2026-11-04 Origin: Site


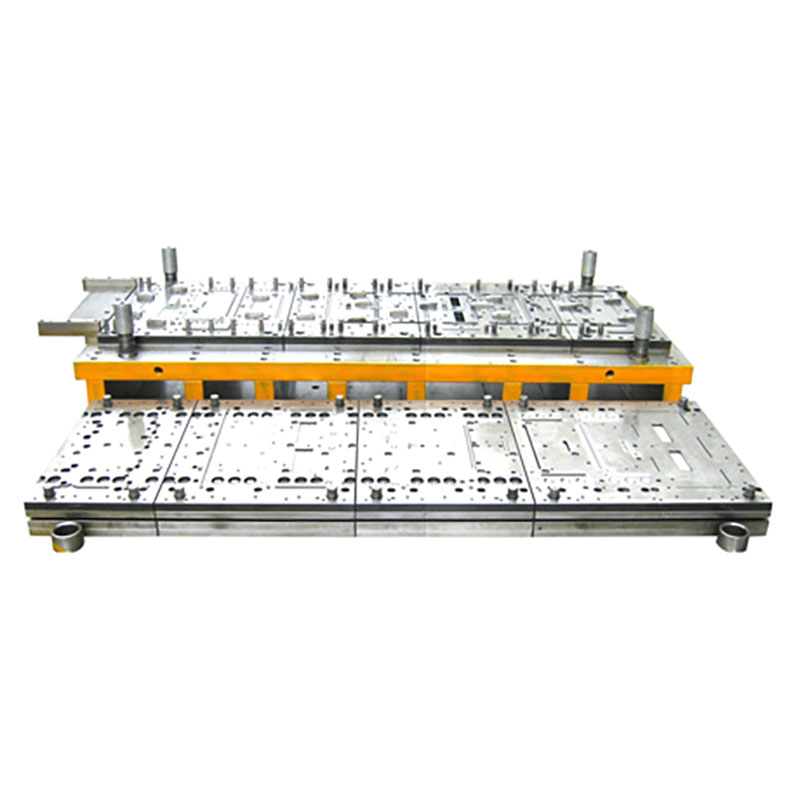
Select stamping die tool steel based on the failure most likely to limit production. A blanking insert that gradually wears down needs a different combination of properties from a narrow punch that chips or a forming insert that picks up sheet material. Start with the operation, sheet specification, and expected production volume. Then compare candidate grades, define heat treatment and surface finish, and validate the choice under production conditions.
Table of Contents
In blanking and piercing, the cutting edges must withstand repeated loading while maintaining part dimensions and acceptable burr height. Small punches, sharp corners, and narrow sections may need extra resistance to chipping or cracking. In bending and drawing, sliding contact makes material pickup and surface scoring important concerns, especially where the finished part has a cosmetic surface requirement.

A progressive die may pierce, form, and trim a part in separate stations. Each station can have a different failure mode, so specify the steel by punch or insert function. For example, a wear-prone trimming insert and a slender piercing punch may justify different grades within the same die. KINGLAN’s stamping die range includes single-stage, transfer, and progressive tooling.
List the sheet grade, thickness range, strength or temper, and any coating or surface finish. Include the lubricant and planned press speed where known. A change in sheet thickness, strength, or finish can affect cutting load, material transfer, and how quickly a tool edge deteriorates. For replacement tooling, record the production conditions at the station where the previous tool failed.

Separate annual part volume from the required run length between maintenance stops. Two jobs with the same annual demand can have different tooling priorities if one runs in short batches and the other must meet a long uninterrupted production window. Also define the acceptance limits that will determine when to service the tool, such as maximum burr height, a critical dimension, or an allowable surface mark.
Inspect both the failed component and the stamped parts. Record where the damage starts, how it develops, and the stroke count at which it first affects an accepted part. The pattern helps you decide whether to prioritize steel properties or correct a tooling or process condition before changing grades.
Failure mode | What to look for | What to prioritize |
|---|---|---|
Abrasive wear | Gradual edge rounding or a steady rise in burr height | Wear resistance, with enough toughness for the edge geometry |
Galling or adhesive wear | Material buildup on the tool and scoring on the stamped part | Surface finish, lubrication, and a compatible surface treatment or coating |
Edge chipping or cracking | Local edge fragments, cracks, or sudden changes in part quality | Toughness, punch support, alignment, and consistent clearance |
Plastic deformation | Permanent edge rollover or a lasting change in the tool profile | Compressive strength, working hardness, and adequate support under load |
A burr that grows evenly over many strokes can point to progressive edge wear. A burr concentrated on one side of a pierced hole calls for a clearance and alignment check. If the same punch chips repeatedly at the same corner, inspect the local geometry, punch support, and whether the stripper guides and releases the punch correctly.
For galling, examine the contact surface for transferred material and review polishing direction, lubricant delivery, and contact pressure. Changing the steel can help when the grade contributes to the failure. A controlled trial is more informative when the team records the setup and changes one major variable at a time.
Steel option | When to evaluate it | What to verify before specifying it |
|---|---|---|
A2 | When a conventional grade with a balance of toughness and wear resistance is a practical starting point | Edge life under the actual sheet and run conditions |
D2 | When gradual abrasive wear dominates and the cutting geometry is well supported | Whether narrow sections or sharp corners have a history of chipping |
Tougher cold-work grades | When chipping or cracking limits life before wear becomes significant | Whether the candidate grade provides enough wear resistance and compressive strength at the specified hardness |
Powder metallurgy cold-work grades | When long runs or demanding geometry justify evaluating a more specialized balance of wear resistance and toughness | The specific grade’s property profile, availability, regrinding requirements, and cost per accepted part |
Use the steelmaker’s data for the specific grade and heat-treated condition. Powder metallurgy is a manufacturing route, and grades made by that route can have different wear and toughness profiles. For advanced high-strength steel, review the load, cutting clearance, and observed failure mode together. A grade that performed well on mild steel may behave differently when the sheet specification changes.
Ask the toolmaker and heat treater to agree on a target hardness range for each working component. Confirm how hardness will be checked and how dimensional changes will be managed on critical fits. The target should reflect the grade, section size, and failure mode. Excessive emphasis on hardness can leave a vulnerable edge more susceptible to chipping.
If wire EDM is used on a critical cutting edge, agree on the finishing sequence and how the affected surface layer will be addressed. Where galling is the concern, define the contact-surface finish, lubricant, and coating requirements together. Before coating a replaceable insert, confirm how the coating will affect fit and how the working surface will be restored after regrinding.
Give the tooling supplier enough information to evaluate the steel and the die as a system. Include the following in the RFQ:
Part definition: Drawing revision, critical dimensions, burr limits, and any cosmetic surface requirements.
Sheet specification: Grade, thickness and tolerance, strength or temper, and coating or finish.
Production plan: Target press speed, annual volume, and required run length between maintenance stops.
Tooling context: Stamping operations, existing press details, lubrication, and photographs or stroke counts from previous failures.
Acceptance requirements: Proposed grades by working component, hardness range, any surface treatment, and the inspection method for trial parts.
Ask the supplier to identify which punches and inserts are replaceable and what information will be available for ordering spares. A quote that identifies the steel and treatment by component makes it easier to compare proposals and maintain the die after launch.
Run the trial with representative production sheet and the intended press setup. Record burr height, critical dimensions, and surface condition at agreed intervals. Inspect the working components at those same checkpoints and note the stroke count at the first sign of pickup, chipping, or unacceptable wear. A short trial can establish initial part quality. A longer run may be needed to verify the proposed maintenance interval.

Compare cost per accepted part over the same evaluation period. Include tooling or insert cost, regrinding, replacements, and the agreed cost of maintenance downtime. For illustration, if those costs total $1,200 over 100,000 accepted parts, the tooling-related cost is $0.012 per accepted part. Use the same cost categories and acceptance criteria when comparing grades.
D2 is worth evaluating for wear-dominated blanking and trimming when the working edges are well supported. If the existing tool fails through chipping at narrow sections or corners, investigate clearance, alignment, and support before comparing D2 with a tougher grade.
First confirm the stainless grade, thickness, and operation. If transferred sheet material and scoring are the main problems, evaluate the steel together with the contact finish, lubricant, and any coating. If the tool is chipping or cracking, prioritize toughness and check the loading and support around the damaged section.
Yes. A piercing punch, forming insert, and trim insert can use different grades or treatments because they face different loads and wear mechanisms. Record each component’s material and treatment on the tooling documentation so replacements can be specified consistently.
Set a working hardness range with the toolmaker and heat treater based on the grade, tool geometry, loading, and dominant failure mode. A wear-prone trim insert and a slender punch may require different ranges. Include the hardness verification method in the tooling specification.
Evaluate a specific powder metallurgy grade when downtime, frequent regrinding, or recurring insert replacement makes tool life expensive. Compare it with the current grade under the same sheet and press conditions. Use accepted output and maintenance cost to judge the result.
Planning a new die or troubleshooting a tool that wears out too quickly? Discuss your stamping die project with KINGLAN. Share the part drawing, sheet grade and thickness, target production volume, and press details. For an existing die, include the damaged station, photos, and approximate stroke count before failure.


